Ever stared into the mirror after applying your “perfect” prom makeup only to see cakey foundation and patchy highlighter staring back? Yeah, we’ve all been there. But what if I told you glowing skin doesn’t have to be a distant dream—or an Instagram filter away? Today, we’re diving deep into the ultimate guide for achieving that lit-from-within radiance on prom night.
Table of Contents
- Key Takeaways
- Why Glowing Skin is the Secret to Prom Perfection
- Step-by-Step Guide to Achieving Glowing Skin
- Pro Tips & Best Practices
- Real-Life Examples: Before vs. After
- FAQs About Prom Makeup
What You’ll Learn
- The prep work essential for a flawless base.
- A foolproof routine for creating glowing skin without overdoing it.
- Mistakes to avoid (yes, contour overload is real).
- Inspiration from real prom transformations.
Why Glowing Skin is the Secret to Prom Perfection
I once spent HOURS layering highlighter during my prom prep, thinking more = better. The result? A greasy mess that screamed disco ball instead of dewy glam. Turns out, glowing skin is less about slathering on products and more about prepping correctly and applying strategically.
The truth is harsh lighting at prom can expose every mistake—cakey foundation, uneven blending, or product buildup. To combat this, focus on hydration and strategic placement of shimmer rather than drowning your face in glitter.
Step-by-Step Guide to Achieving Glowing Skin
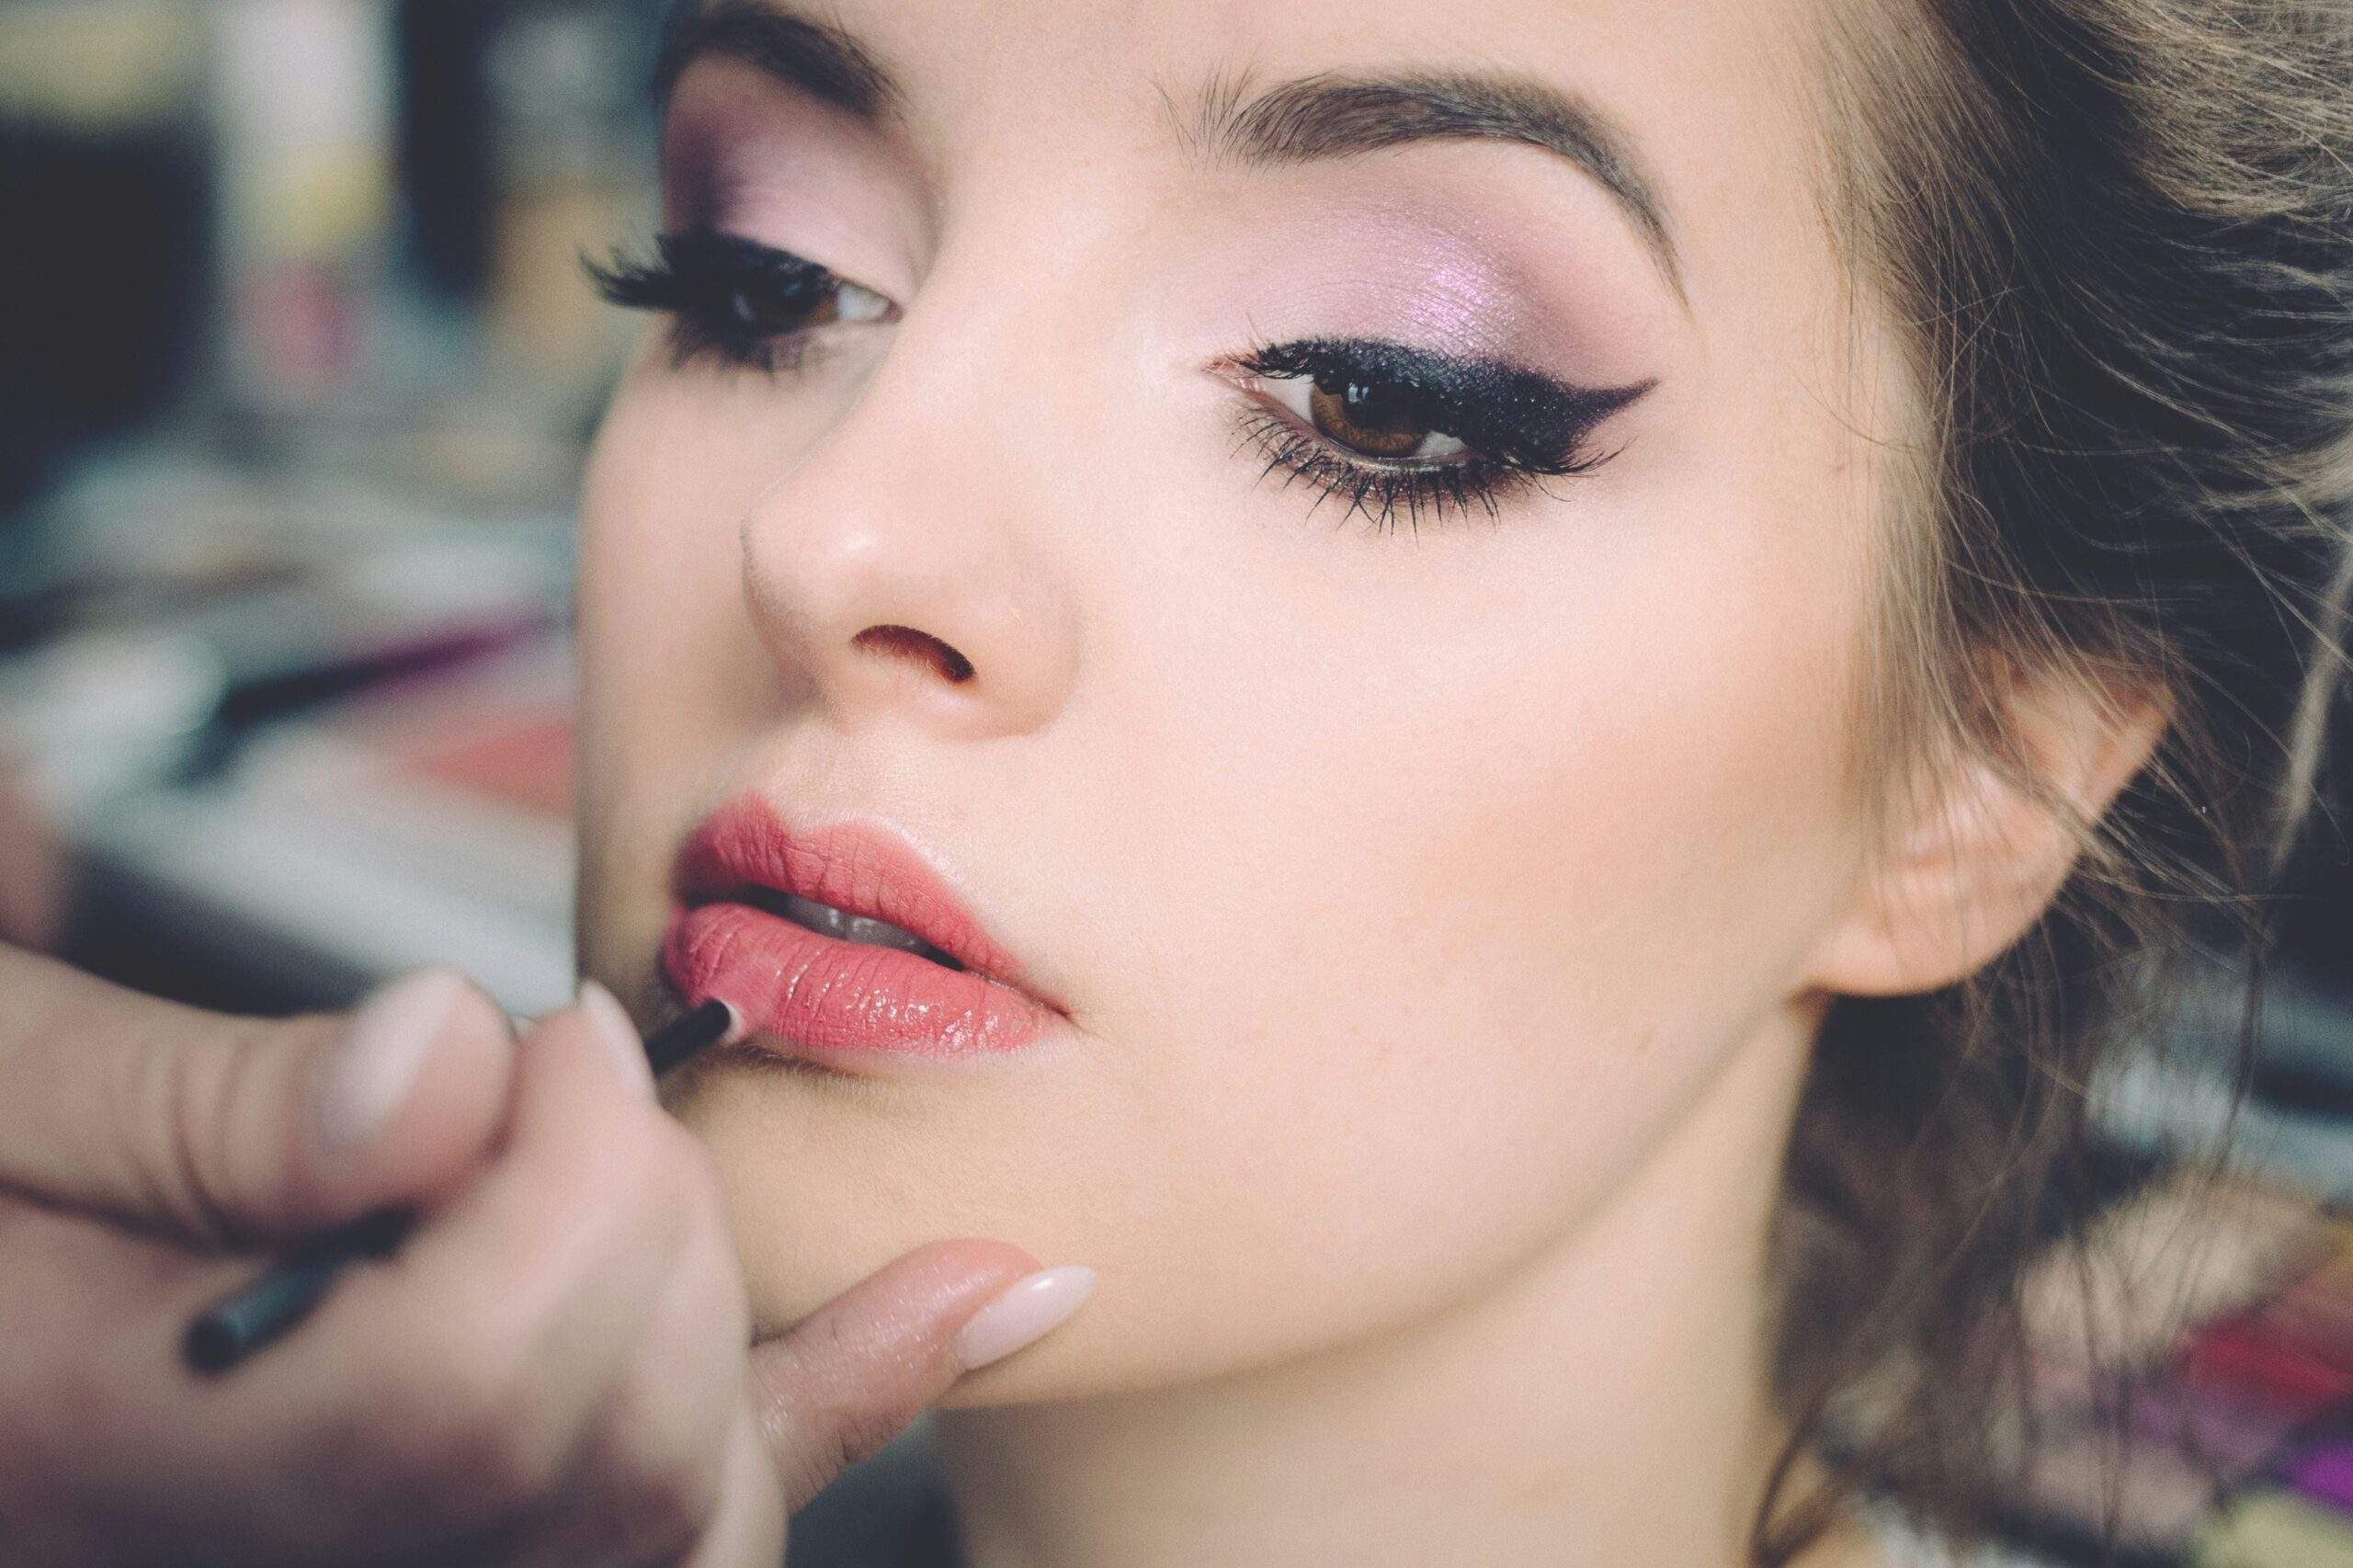
Step 1: Prep Like a Pro
Optimist You:* “A little serum will save us!”
Grumpy You: “Ugh, fine—but make sure it’s not expired.”*
- Cleanse gently but thoroughly. Remove dirt and oil with a hydrating cleanser.
- Apply an antioxidant serum like Vitamin C to brighten skin tone.
- Lock in moisture with a lightweight yet nourishing moisturizer.
- Prime with a glow-enhancing primer—it creates a smooth canvas for foundation.
Step 2: Build the Base with Care
- Use a radiant foundation or tinted moisturizer instead of heavy full-coverage formulas.
- Conceal blemishes sparingly; don’t forget under-eye areas!
- Blend, blend, BLEND. Use a damp sponge for seamless results.
Step 3: Strategize Shimmer
This is where many people trip up by going TOO extra. Only apply highlighter to high points of your face:
- Cheekbones
- Brow bones
- Cupid’s bow
- Inner corners of eyes
Choose liquid or cream-based highlights—they meld better with natural skin texture.
Pro Tips & Best Practices
Do:
- Set your T-zone lightly with translucent powder to avoid shine slipping into grease.
- Pick products suited to your skin type. Oily skin? Go oil-free. Dry skin? Opt for creamy textures.
- Drink water—hydration starts from within!
Don’t:
- Skip sunscreen. Yes, even indoors. UV rays are sneaky villains.
- Overdo blush—it competes with your glow game.
- Rely solely on setting spray unless you want raccoon eyes halfway through prom.
Real-Life Examples: Before vs. After

Check out Rachel’s transformation above. On the left, you see tired, lackluster skin. After following our steps? Bam—radiant, confident beauty ready to take center stage.
FAQs About Prom Makeup
Q: How do I prevent my makeup from melting off?
Prep properly, use a long-wear formula, and set key areas lightly. And carry blotting papers for quick touch-ups!
Q: What’s one terrible tip everyone believes?
Tossing tons of bronzer everywhere because “it adds warmth.” Newsflash: It just makes you look muddy unless blended perfectly.
Q: Should I DIY skincare ingredients before prom?
Unless you’re literally Beyoncé, stick to tested brands. Lemon juice masks might sound cool but wreak havoc on sensitive skin.
Conclusion
Glowing skin isn’t some mythical unicorn concept reserved for influencers with perfect lighting setups. With smart prep, mindful product selection, and careful application, YOU can step into prom night looking fresh-faced and fabulous. Remember: Less is more when aiming for elegance.
And hey, like Britney in her iconic “…Baby One More Time” music video, let your glow steal the spotlight while staying effortlessly chic.